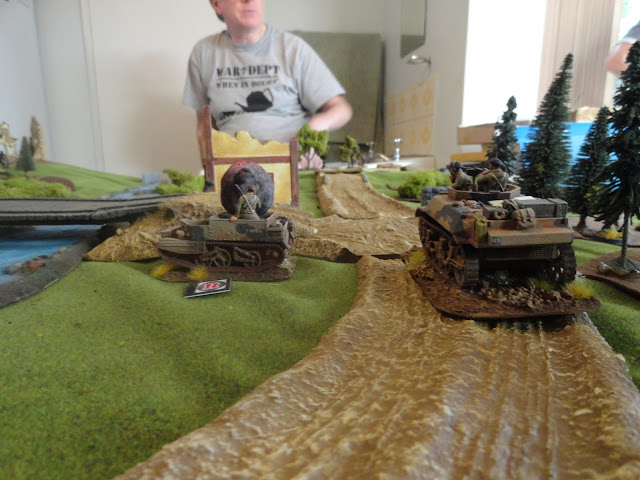
Finale 1945, abridged.
The appropriately named Battle of Finale, where recon units of the South African 6th Armoured division fought their last major engagement of the Italian campaign against desperately retreating German forces, has long been an encounter that I want to use as a wargames scenario. By way of testing options for the full-scale scenario, we (myself and members of the Peninsula Wargames Group) played an abridged encounter using the Operation Squad skirmish rules.
German forces were limited to three Heer squads with Panzerfausts, two Panzerschrek teams, an 81mm mortar and and an emplaced MG42 (sustained fire mode). They deployed on the North of the Panaro river (left in first pic), with one squad deployed on the South bank, entering the table from the East (top of first pic). Their objective was to extract the squad on the south bank over the bridge, and thereafter detonate explosive charges wired under the bridge. The South Africans deployed two squads, with a 2-inch mortar team and a Stuart M3 Recce, entering from the west edge south of the river, with instructions to secure the bridge.

The game began as a predictable dash for the bridge from both forces on the south bank, with the South Africans taking fire from their left flank across the river. Approaching the river, their Stuart recon tank, took a crippling blow from a Panzershrek team deployed south of the river. The loss of the vehicle so early in the game meant the game was reduced to an uneven infantry matchup, and the Saffa player conceded.
We reset the game with a Bren Carrier added to the Saffa forces, and an adjustment to the deployment zones, restricting the German deployment to east of the Bridge This swung the balance of the game firmly in the South African favour, with the German forces needing to split their precious anti-tank resources against two vehicles, reducing the threat considerably. The Carrier advanced aggressively to trigger any ambushes, and the Stuart and infantry advanced to engage the teams flushed out by the Carrier.
The Carrier took a direct hit from a 81mm mortar round as it deployed an intrepid Forward Observer, and for a moment it looked like the Germans would repeat their success in disabling the vehicles. But the Saffa infantry squads provided enough supporting fire to suppress the German anti tank teams and pin them in light scrub on the river banks. An aggressive drive forward by the Stuart to secure the bridge approaches meant the situation looked bleak for the Heer players, and they conceded.
The next iteration of this scenario will be played with Germans aquiring some sterner defensive firepower: Pak40s, Flakvierlings, and possible a Stug or Mk IV, and the Saffas fielding some Shermans. There is plenty of scope for growth in this scenario: the First City/Cape Town Highlander official history of the campaign records the following destroyed German vehicles at Finale: one Tiger Tank, three Mk IVs, one vehicle-mounted 75mm recoilless rifle, two SPGs and two field guns.
 Zulu War Journal


