 |
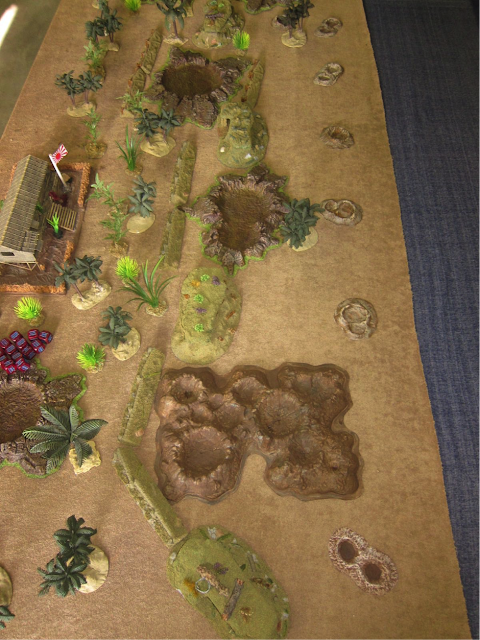
| Photograph courtesy and copyright of Lindsay Hall |
The Cape Town-based Peninsula Wargames Group recently played a large Bolt Action game based on the landings on Tarawa. The event was organised and umpired by David Davidson, who compiled the following After Action Report:
Historical background
Following the final US victory at
Guadalcanal, both sides targeted Tarawa in the Gilbert Island as the next
battle, due to its strategic location en route to the Marianas and the
Philippines. The Japanese spent almost a year fortifying the island, which the
US attacked on 20 Nov 1943. The battle raged for four days, during which time
almost the entire Japanese garrison of around 4 700 were killed, with US force
suffering almost 3 800 casualties (almost half killed). These figures caused
shock in the USA, and led to the development of new equipment and different
tactics.
 |
|
Map of Betio Island (USMC, Wikepedia)
|
The Game
Based on Scenario 8, Bloody Tarawa, in the
Bolt Action Empires in Flames supplement, we simply placed two tables in close
proximity, representing two of the three Red beaches (on the northern side of
the island). Each table had around 4000 points of US forces, and 2000 points of
Japanese. As in the scenario, the Japanese got 5 bunkers, 9 linear obstacles
and a minefield for each (free) landing craft taken by the US players. The US
forces on each table comprised three platoons, each of around 1300-1400 points,
and the Japanese, two platoons, each of around 1000 points.
The game started with an umpire-specified
reef modifier of -1, representing the neap tide, with a number of US landing
craft being delayed on the reef. (This reduced to 0 and then +1 in turns 2 and
3). The US forces were fortunate that
none became permanently stuck on the reef. The Japanese forces on both tables
had a field day on the first two bounds, destroying a number of landing craft
and unarmoured[1] LVT-1
“amtracs” as they struggled to make the beach. Bounds three and four saw
further pain for the US as the infantry struggled ashore under heavy fire from
bunkers and trenches. However, by bound five the US forces were started to move
off the beaches (the scenario did not include the sea wall which historically trapped
the amtracs on the beach, but also provide the Marines with some cover) and the
US flamethrowers were making their presence felt – each table had 6 manpack flamethrowers
and 2 flame throwing tanks/amtracs. The players on Red Beach 3 completed 7 (of
a planned 9) bounds before we called time after about 8 hours of playing
(including a lunch break), with the Japanese really starting to take strain,
and the Red Beach 2 table finished on bound 6. Interestingly, the Japanese
minefields proved relatively easy for the US forces to avoid, other than one amtrac
which executed a rather over-enthusiastic turn (but then survived the ensuing blast in any
case).
 |
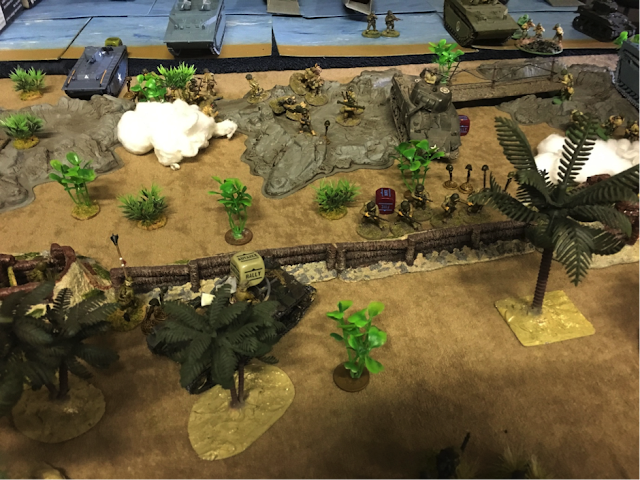
| Red Beach 2. Photograph courtesy and copyright of David Davidson |
 |
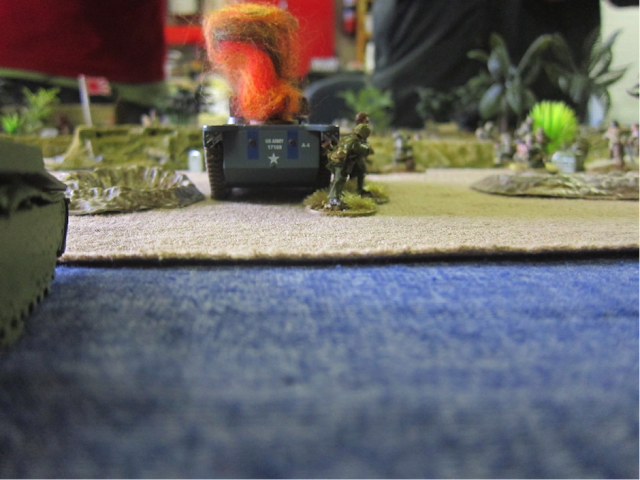
| Red Beach 3. Photograph courtesy and copyright of David Davidson |
As noted below, the Umpire made a call (due
to the shortened game) to increase the US victory points for getting units off
the beaches, which resulted in a US victory on one beach, and a draw on the
other. Overall, it was the most marginal of US victories however, with 75
points for the combined US forces vs 70 for the Japanese, and really captured
the feel of this terrible battle.
 |
| Photograph courtesy and copyright of David Davidson |
 |
| Photograph courtesy and copyright of David Davidson |
 |
| Photograph courtesy and copyright of Lindsay Hall |
 |
| Photograph courtesy and copyright of Lindsay Hall |
Players and results:
Red beach number 2 (western beach)
US: Mike, Tony, Greg, Henning
Japanese: Quinton and Chris
Played 6 bounds.
US VPs
|
Japanese VPs
|
||
Destroyed Japanese units
|
3x1
|
Destroyed US units (including landing
craft)
|
15x2
|
US units in Japanese deployment zone
|
13x2
|
||
29
|
30
|
||
Result
|
Draw
|
Red beach number 3 (eastern beach)
US: Anthony (also overall US commander),
Bobby, Dean
Japanese: Graham and Lindsay
Played 7 bounds.
US VPs
|
Japanese VPs
|
||
Destroyed Japanese units
|
12x1
|
Destroyed US units (including landing
craft)
|
20x2
|
US units in Japanese deployment zone
|
17x2
|
||
46
|
40
|
||
Result
|
US victory
|
Overall result: US 75 vs Japanese 70 – a
(very, very!) marginal US victory.
 |
| The usual suspects:
From left, back: Quinton, Greg, Mike, Lindsay,
Anthony, Graham, Henning, Dean, David, Chris; front, Tony and Bobby |
Tarawa – special rules
Japanese:
- As per usual Japanese special rules, all hidden Japanese forces may start the game in ambush.
- Japanese FOOs, spotters and other indirect fire may fire when in ambush until the US forces hit the beach, after which the usual rules apply. (This simulates the Japanese lying in wait, and should also speed up the the first few bounds).
- Bunkers (as in BA rules): confer -4 hard cover modifier. May only be close assaulted from entrance doors (usually at the back).
- Japanese indirect fire weapons remain hidden even after firing. (Simulates excellent siting and camouflage, as usual with Japanese island defenses).
- All Japanese units, even vehicles, may start hidden even if not dug in – but lose this as usual once they fire etc. (Simulates camouflage).
- If a 1 is rolled for a Japanese artillery FOO, this is instead counted as the telephone wire having been destroyed by US naval fire, and the artillery strike is forfeited.
US:
- Until the first US forces hit the beach, no US forces may be given “down” orders until all “advance” and “run” orders have been issued. (This is to speed the first couple of bounds up).
- US forces: may not re-allocate forces between tables until bound 5.
- Amtracs: they may continue to fire their weapons even after their loads disembark. (Historically, these were manned by US Navy personnel at this time. Landing craft however may not – these should be trying to re-float off the beaches, not engaging in running gun fights.)
- Bazookas fired at bunkers: should they hit, count as a light mortar for effect on occupants.
- US FOO – artillery and air – “friendly fire” may not be targeted at US units on the beach or in the water (there are no historical accounts of the Navy accidentally targeting such units, which would clearly by US in all probability). If a 1 is rolled, and there are no valid US targets inland, the strike is instead forfeited.
Umpire-eyes
only:
- Reef crossing modifiers: bound 1, -1; bound 2; 0; bound 3 and later, +1. (Simulates actual conditions).
- Japanese HQ: from bound 3, any turn the US commander scores a 0 on a D10, the Japanese HQ is hit and destroyed. No further communication between Japanese forces on different tables, no re-allocation of forces between tables. (Historically, the Japanese HQ was hit and destroyed when re-locating).
- US forces entering an bunker: on a 6, they trigger a booby trap.
- Due to shortened game, US claimed 2 VPs per unit in Japanese deployment area
